
The completed wig, before styling
We built this wig for a client who does work as a George Washington interpreter This wig is a human and yak hair blend that is fully hand-tied – it is modeled on George Washington’s hair in the iconic Gilbert Stuart painting.
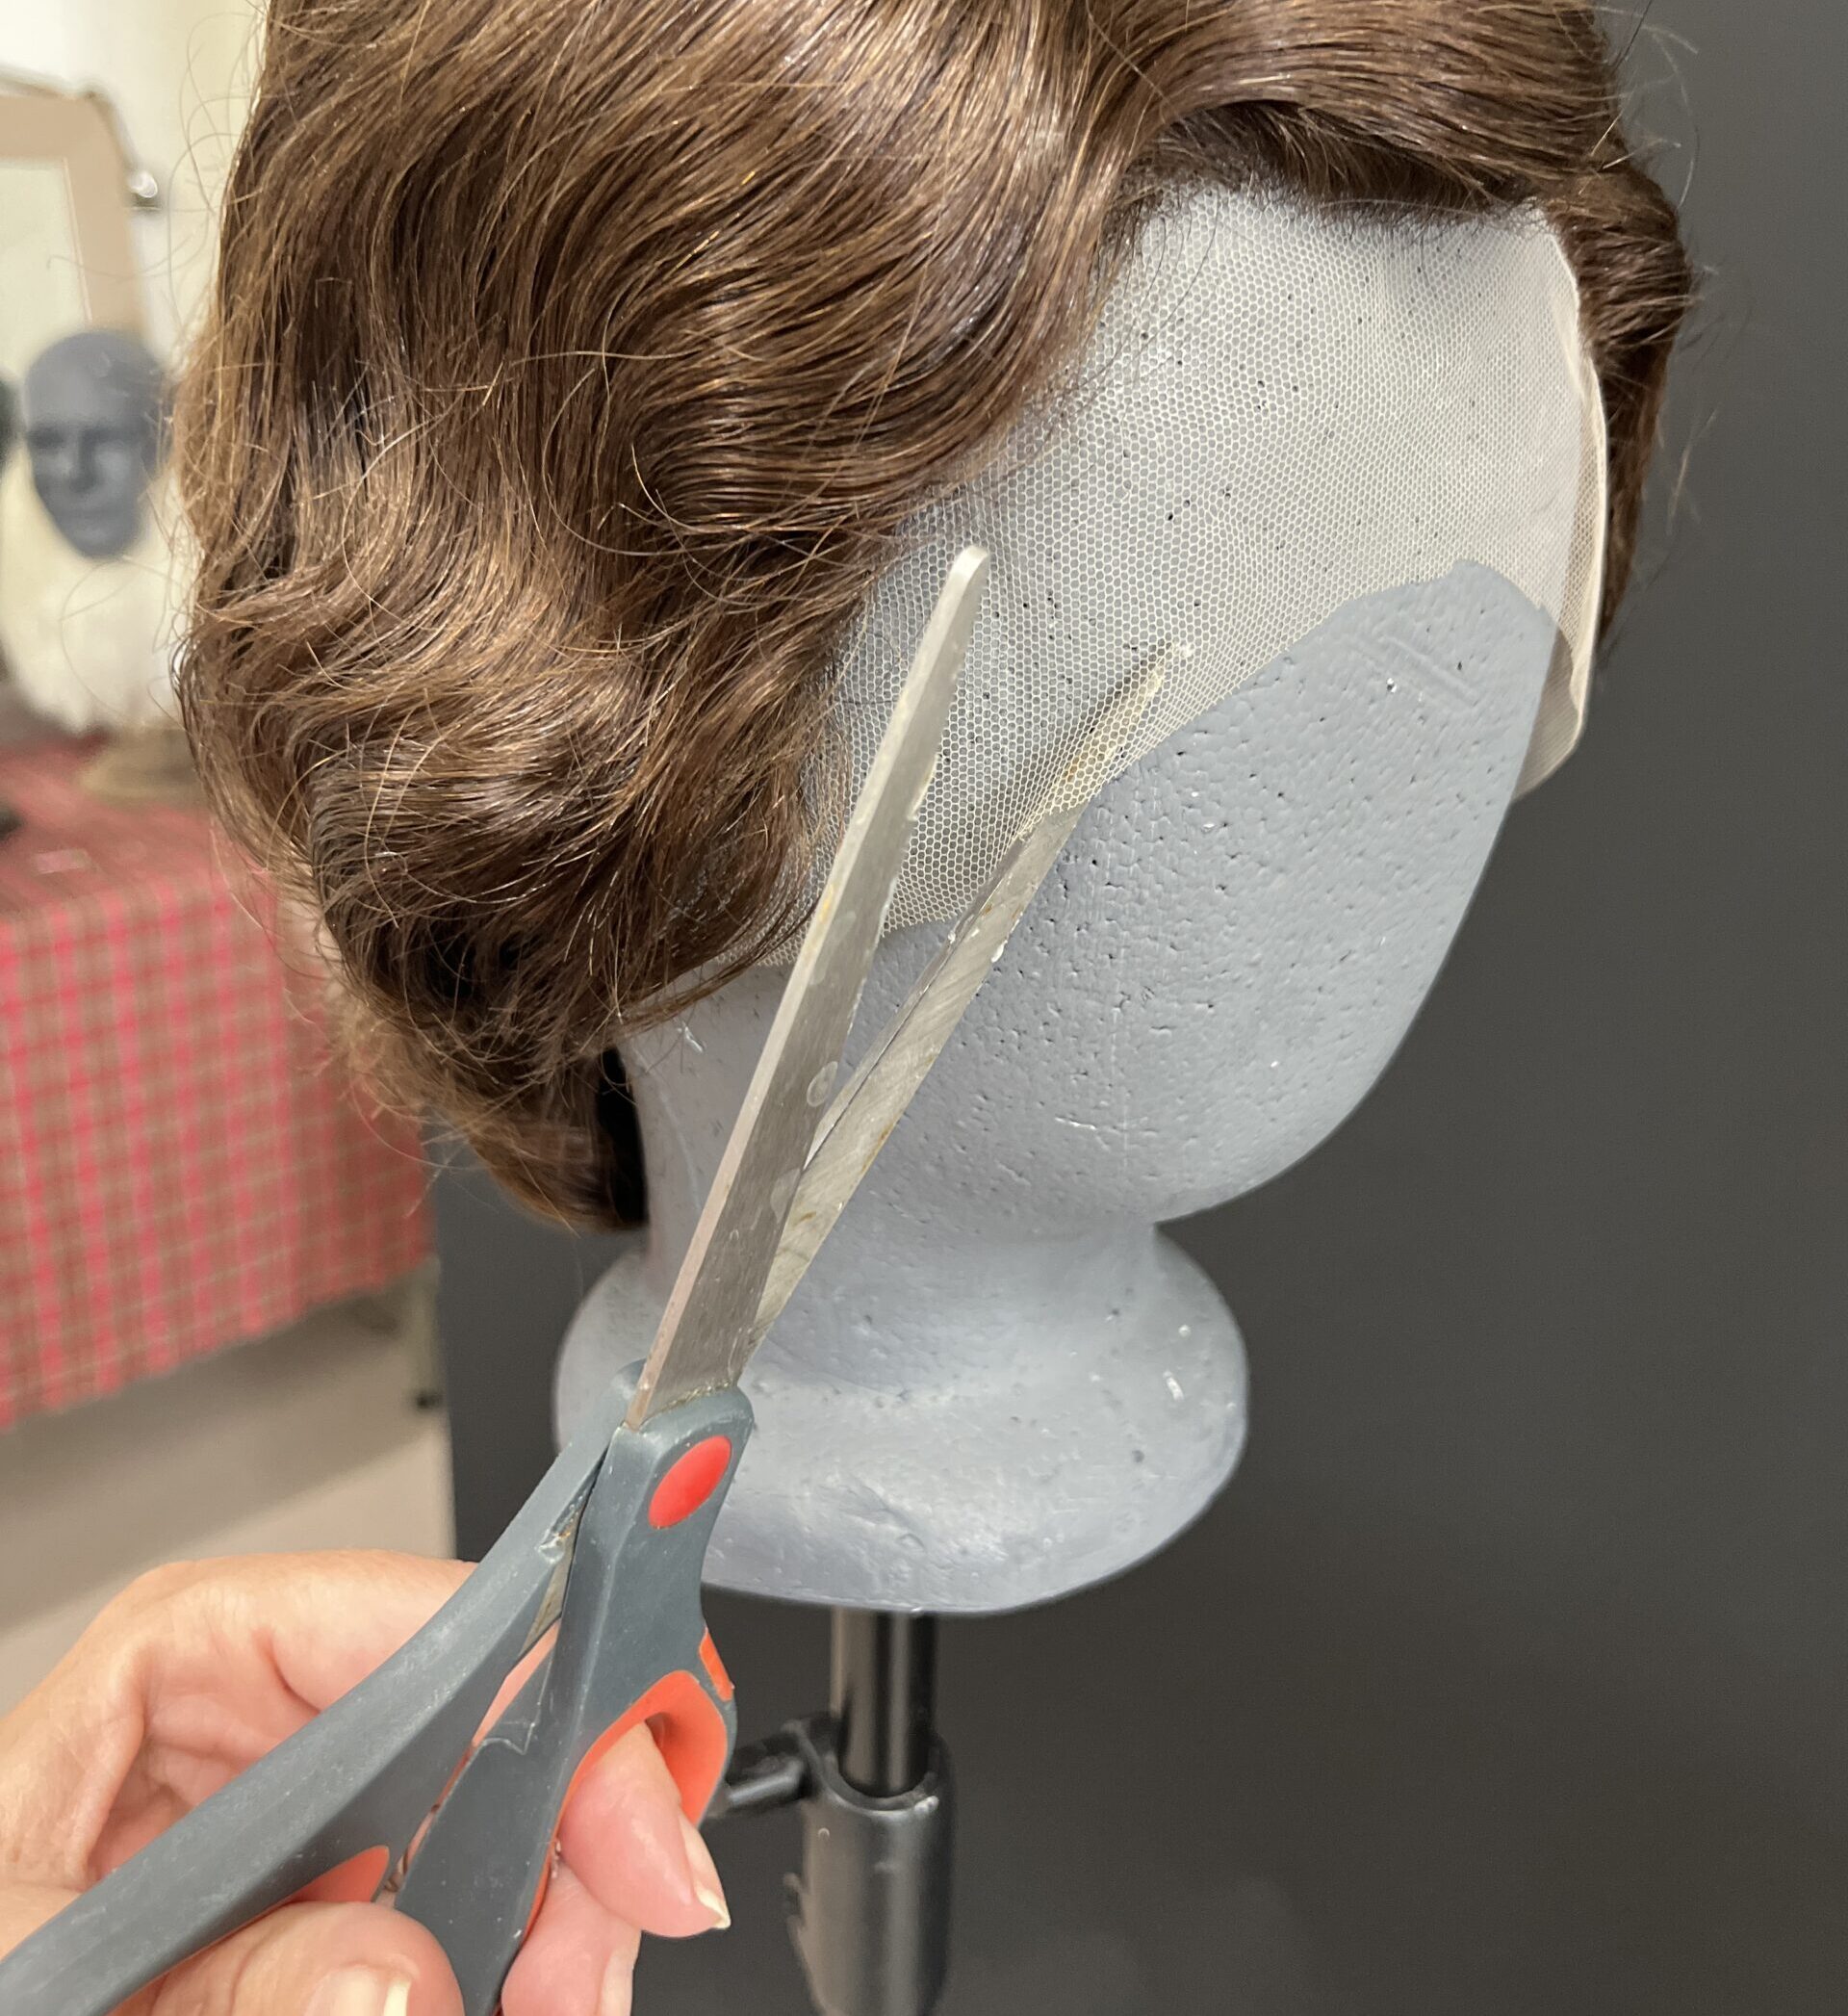
Here is the completed wig before any styling – you can see the large lace front which will be cut to suit the client. The texture of the hair is slightly wavy. In order to give the wig a gentle wave throughout, some height at the front and an overall smooth and “finished” appearance, we set the wig on rollers and styled it.
Since the wig is human and yak hair, we used a mix of equal parts water, gel and rubbing alcohol as a setting solution. For wigs with synthetic fibers, we use steam heat rather than hair product.
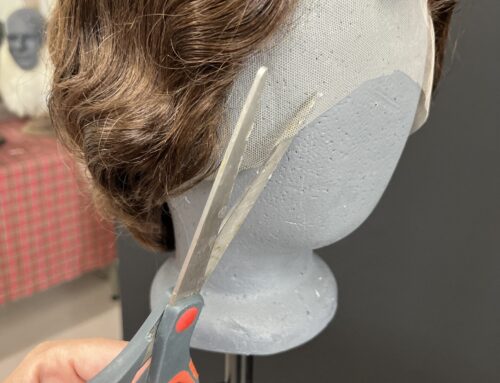
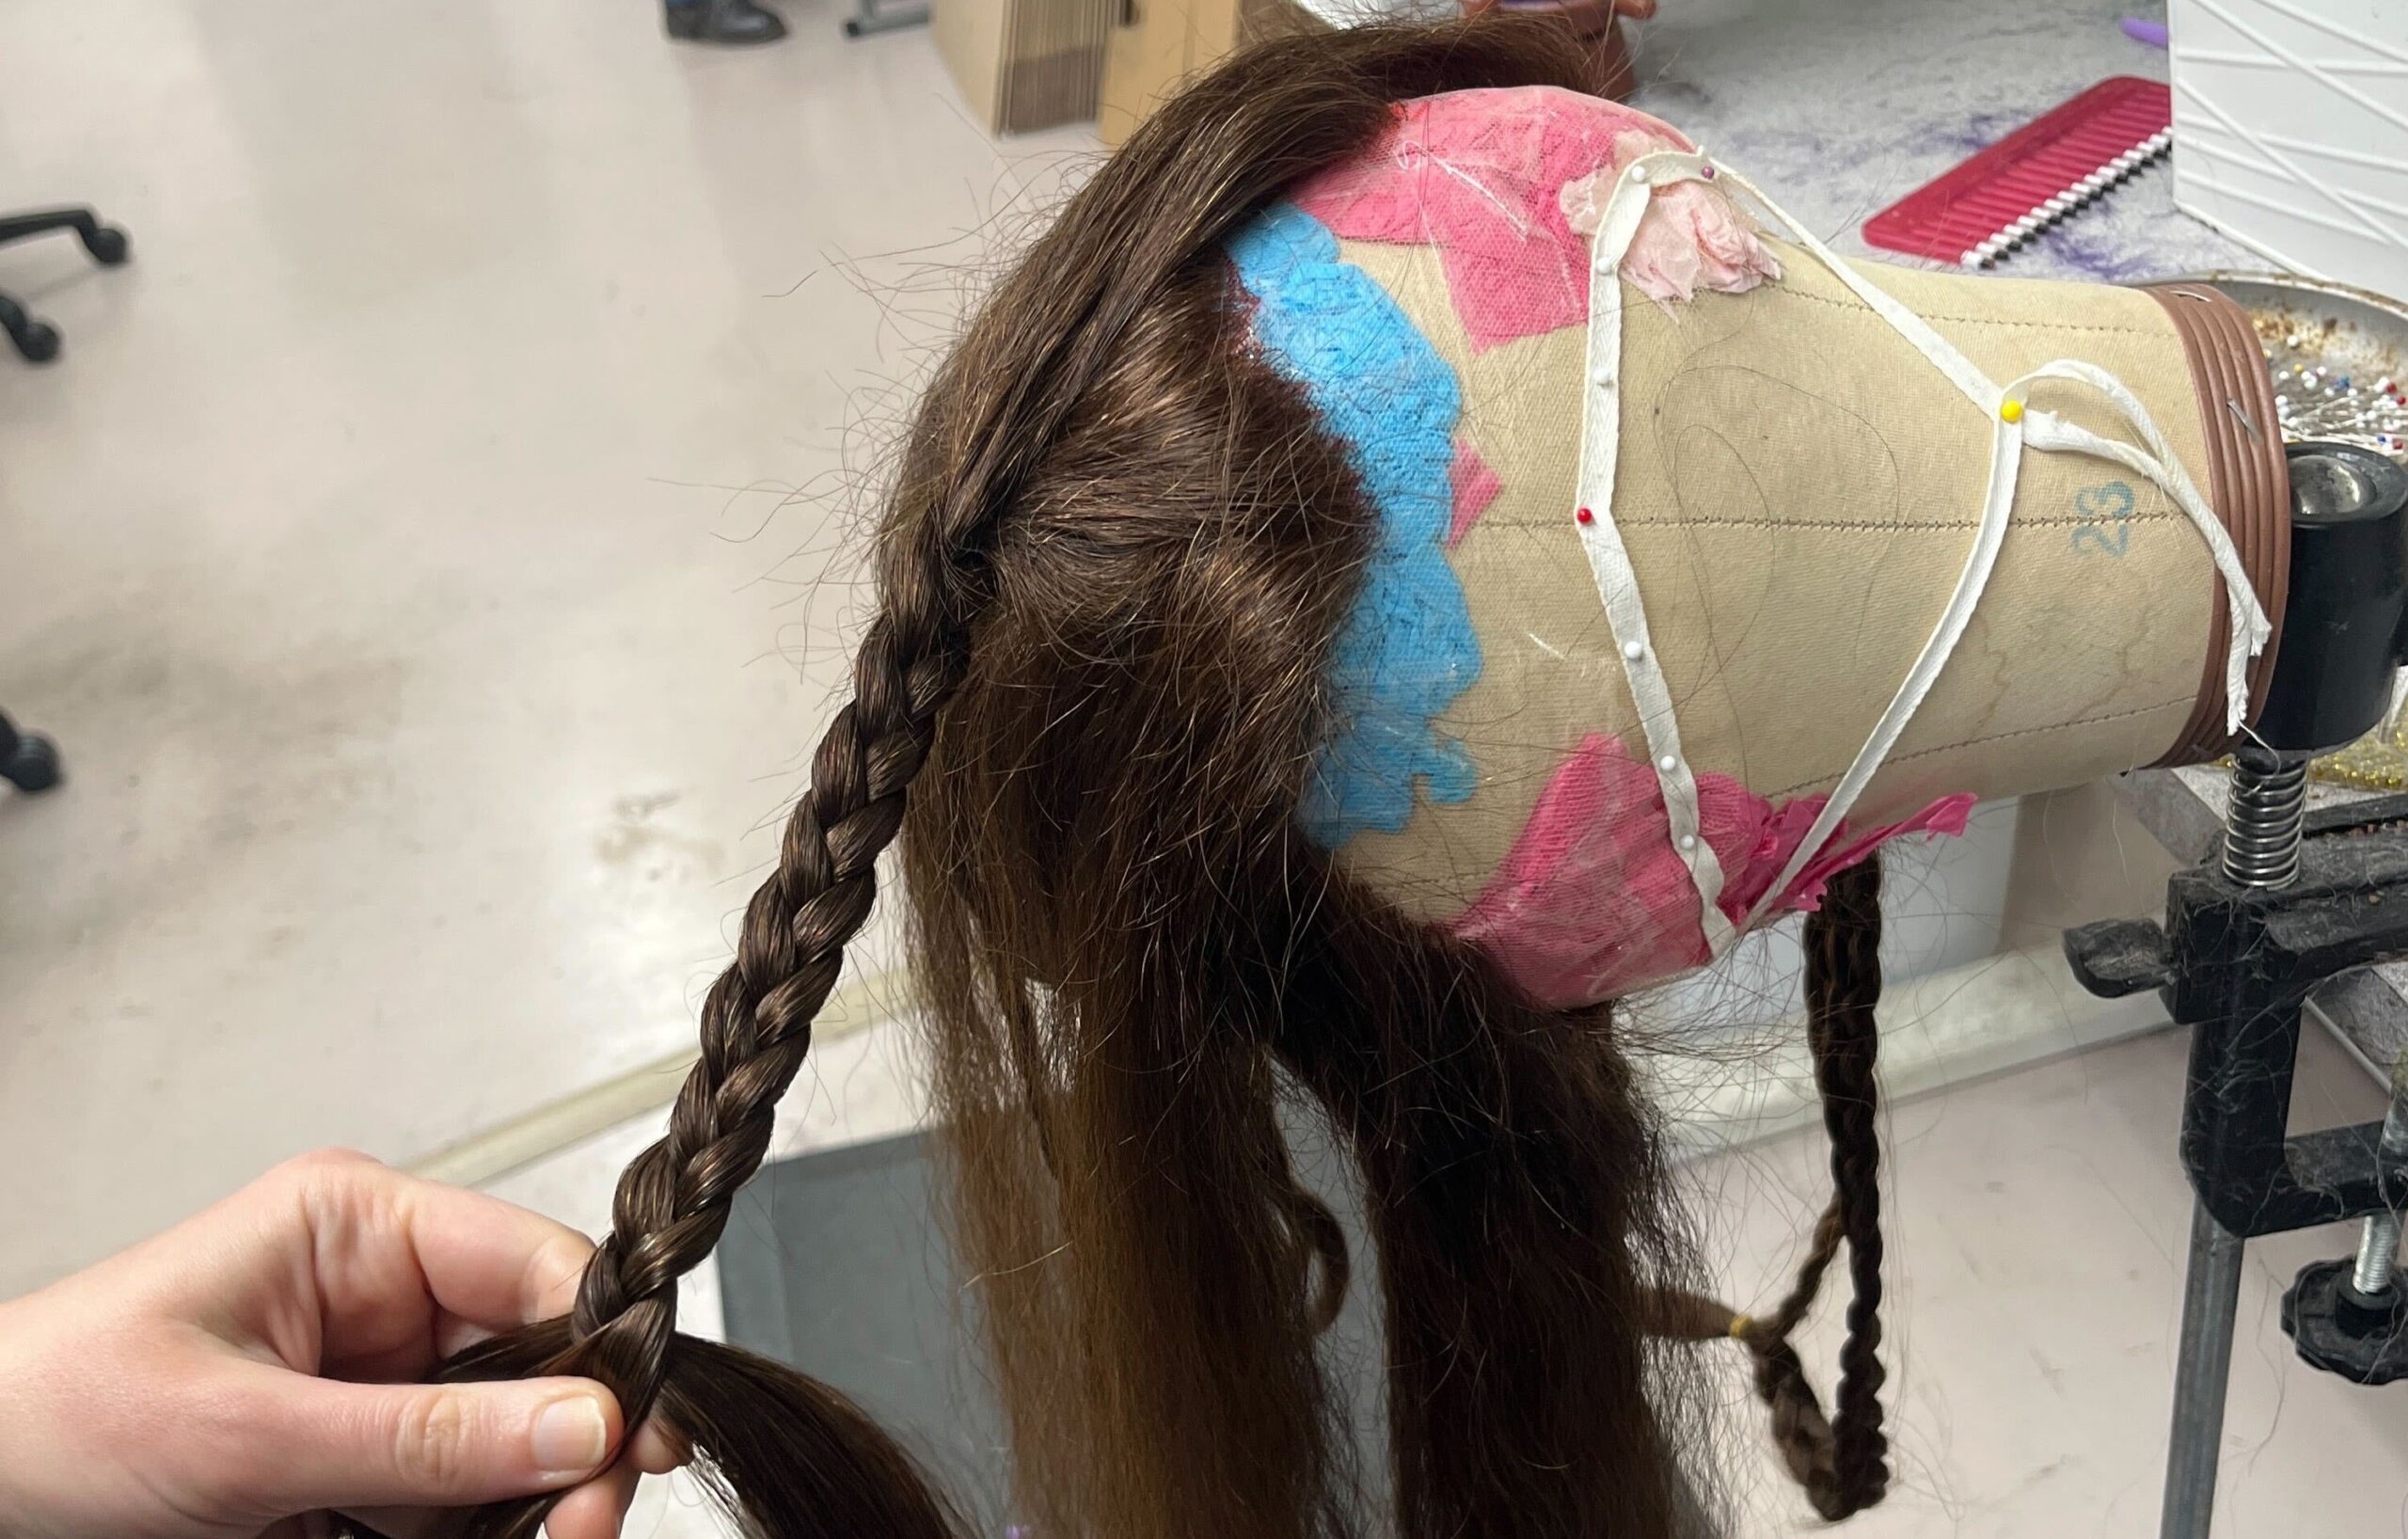
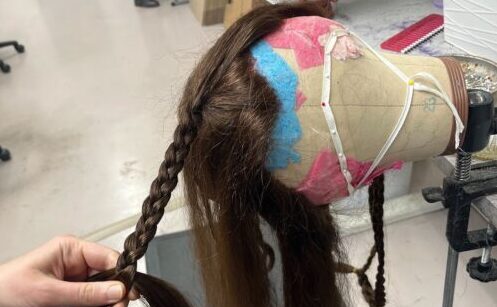
We used half-inch rollers and dampened the hair with the setting solution. The top of the wig is set with rollers close together to give extra volume (see middle image below). The side curls are set on rollers where we want the finished curl to sit, relative to the client’s ears (see third image below) The back, which will be worn in a queue, is set in simple rows of rollers to direction and a slight wave (see first image below).
The wig blocked carefully onto the head block and set on rollers.
When you style a wig using rollers, it’s helpful to take the rollers out in sections and do some preliminary styling before taking out the rest of the rollers.
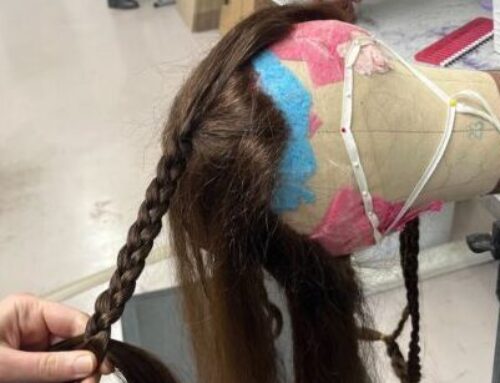
This image shows the back rollers removed, before any combing. Always try to remove the rollers carefully, leaving the curl as intact as possible. That way, when you have all of the rollers removed, the hair will be easier to comb and shape.
This image shows the back after it has been combed out. You can see the gentle, uniform wave throughout the back. A large, wide toothed plastic comb is great for combing out roller sets. For a style like this, where the goal is a single, uniform mass of hair, try to comb the whole area of hair in one motion, rather than combing sections. It can be helpful to gather all of the hair in your hand, and comb with the other (similar to the way you comb or brush your hair as your prepare to put it into a ponytail).

This image shows the front and top rollers removed. The hair on the top and front of the wig is a little shorter than the hair in the back to help facilitate the silhouette.
The wig is styled and the side curls have been taken out of their rollers. The curls have been gently combed out and loosened up to give them the look of the Stuart painting. For very tight side curls, simply don’t comb them out. In most situations, you’ll want to roll the hair for the side curls “up” on the roller, rather than “under” like the rest of the wig.
A few tips for styling
Working in sections makes it easier to achieve the final style because it allows you to more easily control the hair. This is true for virtually any style and can help a complex style become easier to visualize. The roller pattern used for this wig is very versatile and will work for a wide range of 18th century styles. Here are a few easy ways to vary this roller pattern for slightly different styles
- use larger rollers and you’ll get more volume in the front, and a smoother, less wavy shape overall
- use smaller rollers and you’ll get less volume but smaller, tighter waves.
- using more rollers (especially if they are smaller) will produce a greater mass of waves or curls – fewer rollers would produce even less volume and wave
- for multiple side curls, simply section off a larger section of hair and use one roller for each side curl.
- as an alternative to setting the back into rollers and then styling into a queue, you can gather the hair into the queue and set the entire queue. Use one large roller if you just want to give the queue a nice shape and turn the end under. Use multiple small rollers if you want a fluffy, curly queue.
- while it’s helpful to put the wig into the queue while working on it, you may find you need to adjust the queue once it is on the head.
Once the client has gotten this wig and sent us some photos of it in action, we’ll update this post to show how the wig looks on a person and we’ll include any tweaks to the style the client might make once he’s tried it on.

Thank you for your page. The information and photos are wonderful. I take my hat of to you!
Thank you so much! We really love what we do!