This information was gathered for our talk at the Jane Austen Festival in Louisville, KY July 9 and 10, 2011. It is meant to serve as a very brief overview of the hairstyles in the Regency and is by no means a definitive guide.
For a much more in-depth post, see Styling a Regency Wig, which includes video. If you’re interested in using rollers to style wigs, check out our Pictorial Guide to Using Rollers.
Ladies’ Regency Hair – A Brief Guide to Characteristics and Technique
Regency hairstyles were very simple and natural – arguably the most “Down-to-Earth” style of hairdressing from the earliest days of hairstyling to the 20th Century. The century leading up to the Regency era was marked by increasingly extreme hair styles for both men and women, resulting in complicated, exaggerated and unnatural hair and wigs.
After decades of growing artificiality, it is hardly surprising that women would be quick to adopt the new, simple hair and clothes. Within the space of a decade, hair went from massive to minimal – the inspiration for this has its roots in the Neoclassical movement of the late 18th/early 19th century which looked to ancient Greece for its philosophy, culture and aesthetic. These Neoclassic lines are clearly visible in ladies coiffures.
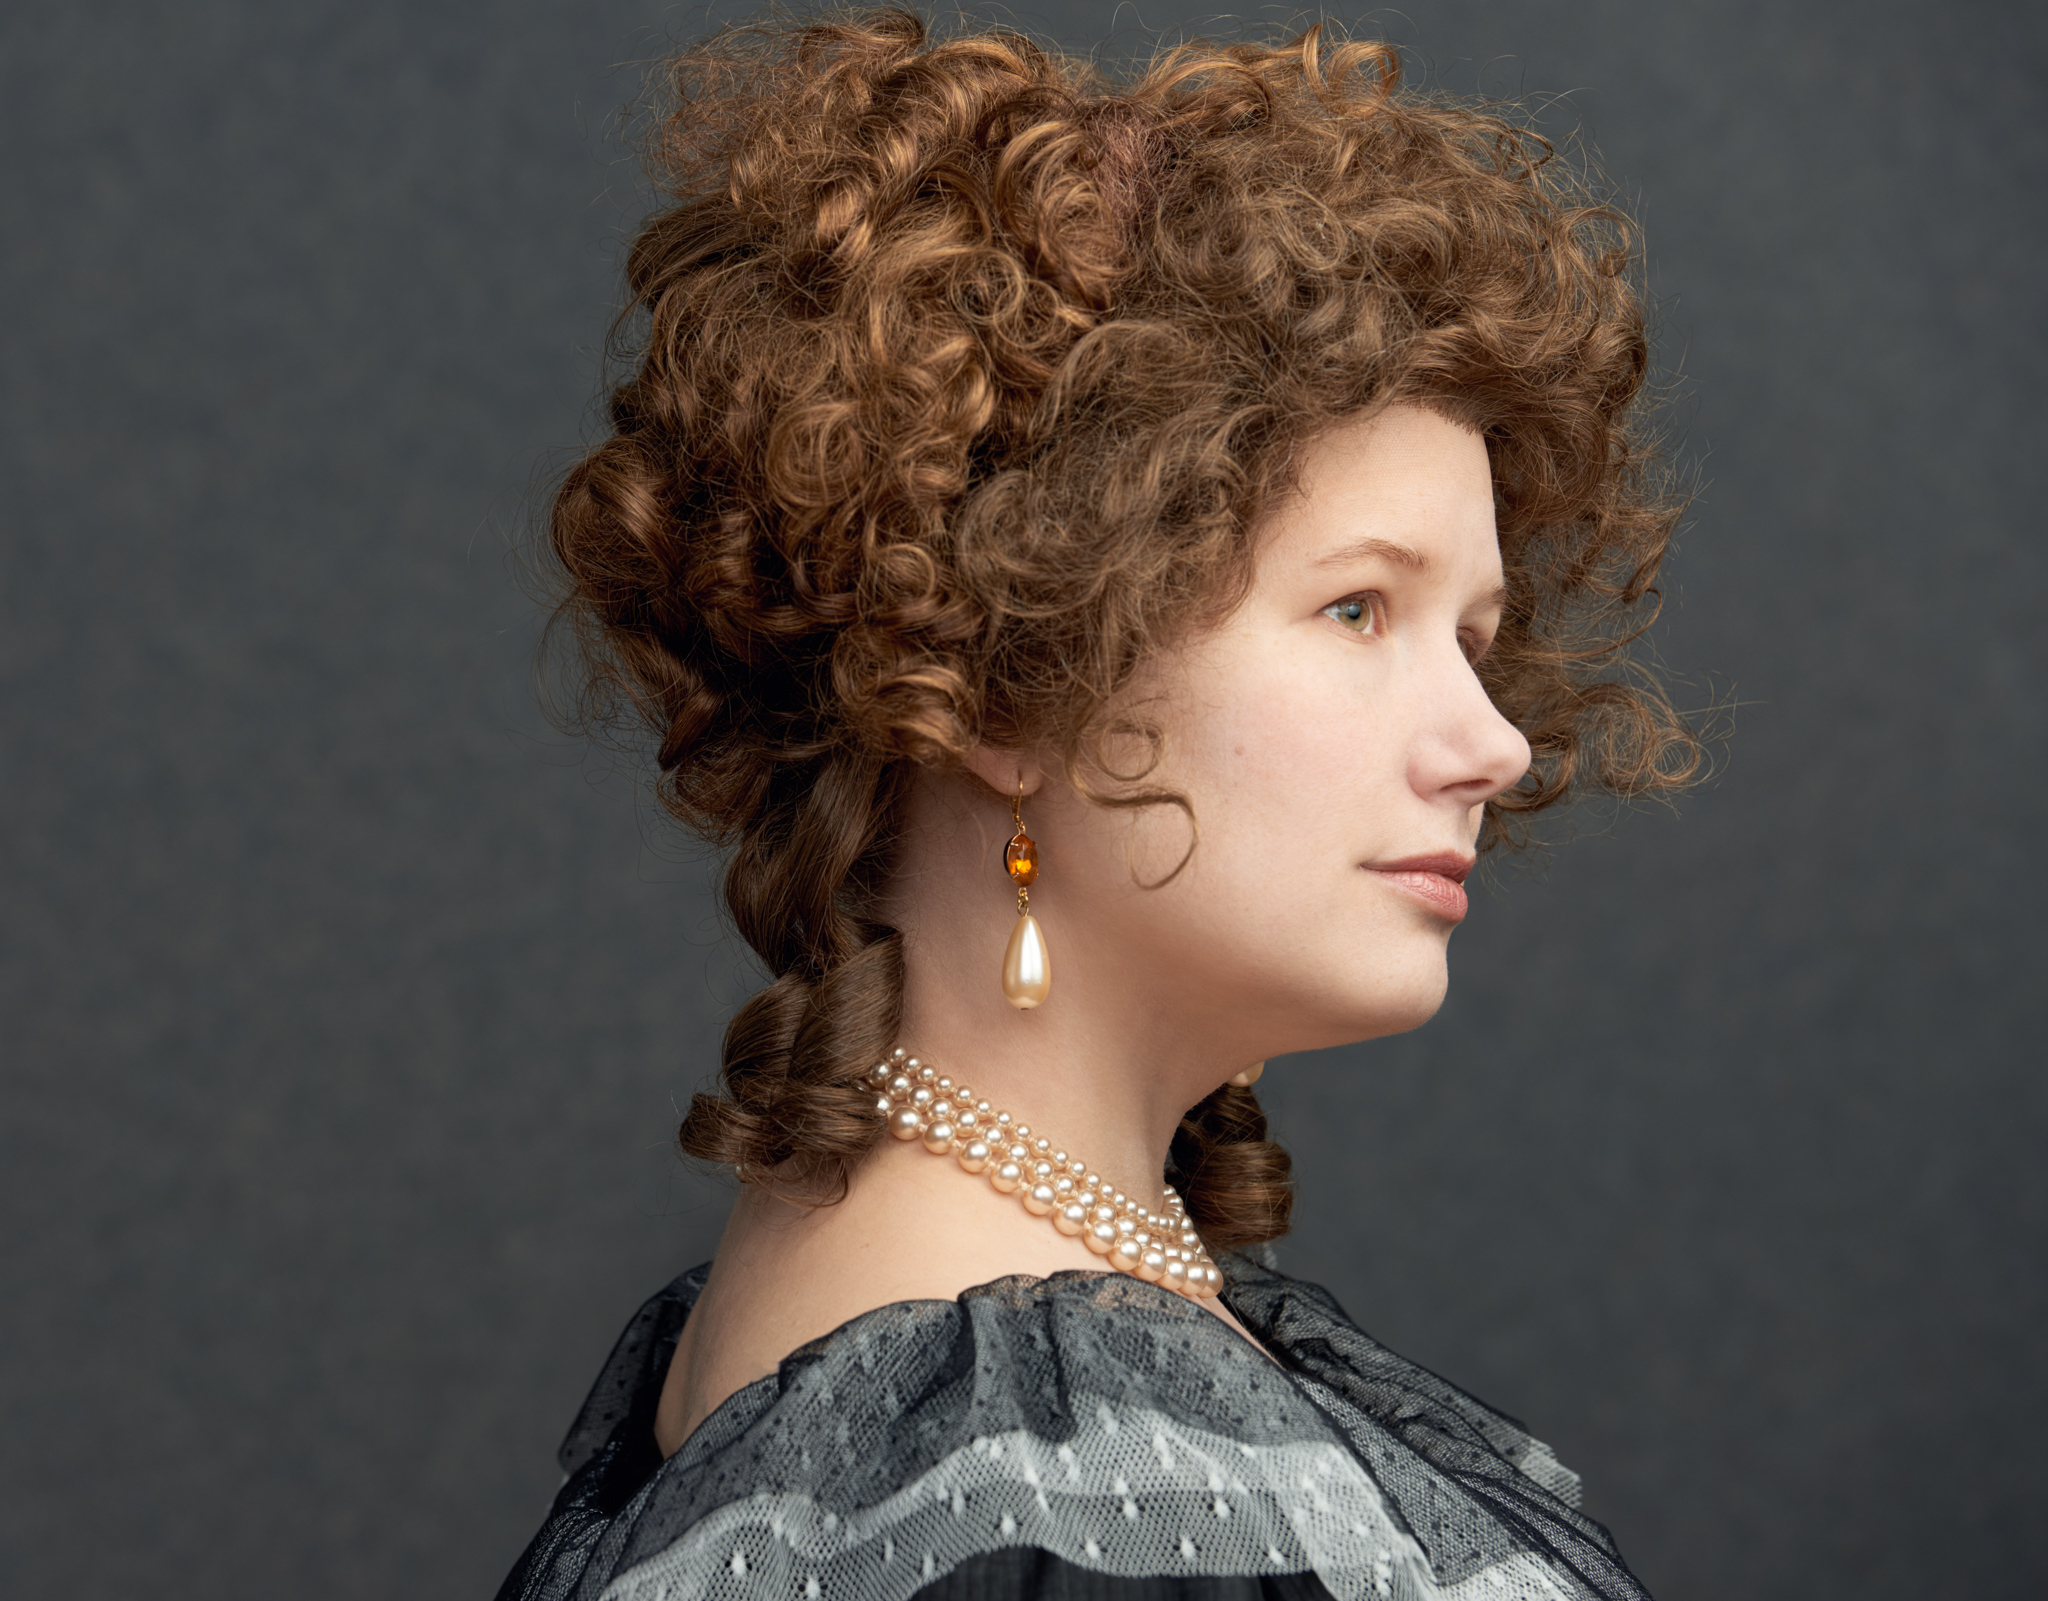
Typical Characteristics of Women’s Regency Hairstyles
- Hair is worn pulled up onto the crown of the head, towards the back, most often in simple buns. The bun is almost always visible from the front, though it did not become centered on top of the head until the end of the period.
- Center parts were very common and popular through the era, though examples of side parts are not uncommon.
- The face is generally framed with a series of small curls or waves. These often appear natural and happenstance, but they were often meticulously arranged for “studied” negligence.
- The bulk of the hair remains long and is contained in a bun. Examples do exist of ladies with shorter hair, brushed forward into waves and ringlets, particularly in the early part of the period.
- While it is loose and soft, the hair is dressed fairly low and close to the head at the roots. The volume typically comes from one’s own curls or waves. The area of the bun is generally the highest point of the coiffure. The back of the head is generally smooth and the hair is swept cleanly and snugly up to the crown
- For evening wear, the buns were often styled more elaborately, and embellished with ribbons, flowers and other ornaments
- Buns came in a wide range of styles. These ranged from one’s own hair simply gathered and pinned up to carefully constructed piles or curls or coils of braids.
Essential Wig Styling Supplies
everything you need to style, wear and care for your wigs
Recreating a Very Basic Regency Hairstyle with Your Own Hair
Begin with a soft but defined part at the center of the head or a side part.
Sweep the bulk of your hair into a bun on the back crown of the head. Secure the bun loosely with large bobby pins. For maximum security, criss-cross bobby pins in pairs to lock the pins together.
Pull loose some strands of hair to frame the face if your hair cut and length allow. They can be left as they are or curled using a very small barreled curling iron.
Using rollers
For a more complex style, you can use rollers to set your hair. Even if your own hair is naturally curly or wavy, rollers can help shape and direct your hair.
Hair will need to dry fully in the rollers, so ensure you have plenty of time. You’ll need small curlers or bendable foam rods, a spray bottle of water and a can of mousse. The smaller the roller, the smaller and tighter the curl will be. Likewise, the larger the roller, the looser the curl. If you prefer waves to curls, use fewer, larger curlers.
Begin by parting hair in the center. Make another part from ear to ear (front to back). Sweep the back portion of the hair up into a ponytail and secure with an elastic. Once the hair is secured into the ponytail, dampen the ponytail with water and work a small amount of mouse into it. You need the hair to be damp but not wet. Hair requires minimal moisture to achieve a set and using a “damp set” will allow hair to dry more quickly. Roll the strands of hair in the ponytail onto the curlers. Use more curlers if you desire a large number of tiny curls – use fewer curlers if you prefer a smaller number of curls.
If your own hair is curly or you don’t wish to use rollers for the updo, simply coil and arrange your own hair to suit your preferences. You can also braid some or all of the hair in the ponytail for a bun with braids.
Once all the hair in the ponytail is rolled, mist the front hair and work mousse or setting gel in. Again, it is not necessary or desirable for the hair to be very wet. Beginning at the top of the part, roll a piece of hair onto the curler – take a section of hair no wider than the curler and not more than ¼” thick. You will roll the hair so that the roller is under the piece of hair when it reaches the scalp. Continue rolling the hair in this manner until all of the hair is rolled. Repeat on the other side. If you want a large amount of curls, use more rollers with smaller pieces of hair – for smoother waves, use fewer, larger rollers.
Our Roller Styling Kit is a great curated tool kit for styling wigs with rollers.
Removing rollers
Your hair will need to dry completely before being removed from rollers. Because you are only dampening the hair rather than working with saturated hair, the drying time will be greatly shortened and the curl will set better. You can also use a blow dryer to speed up the drying time.
Once the hair is dry, remove the pony tail curlers and arrange the curls in whatever shape you like – secure the curls with bobby pins. Then remove the curlers from the front of the head. Use your fingers to smooth and arrange the waves and curls to your liking. Combing the hair will result in waves, while leaving it mostly untouched from the curlers will produce a fuller, curlier style. You can arrange the front hair to your liking, pulling some forward to arrange around the face and pulling some back and pinning into the bun.
If your hair is short, or you wish to simplify your styling, you can also use wigs or hairpieces which are pre-styled and need only to be pinned onto your head. These are available from wig shops or can be custom made to match your hair color and texture. Pieces can be a quick and effective way to enhance your Regency hairstyle.
Appropriate ornaments include ribbons, bandeaux, feathers, caps and turbans.
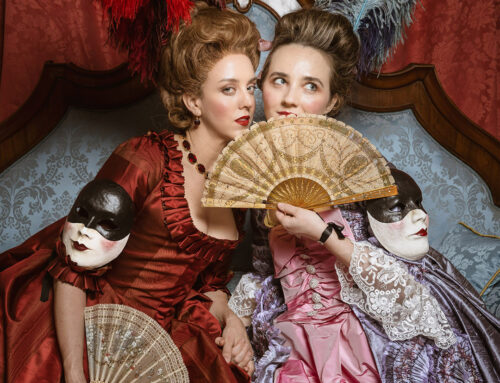
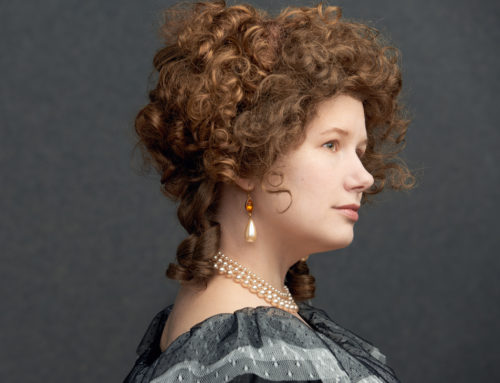
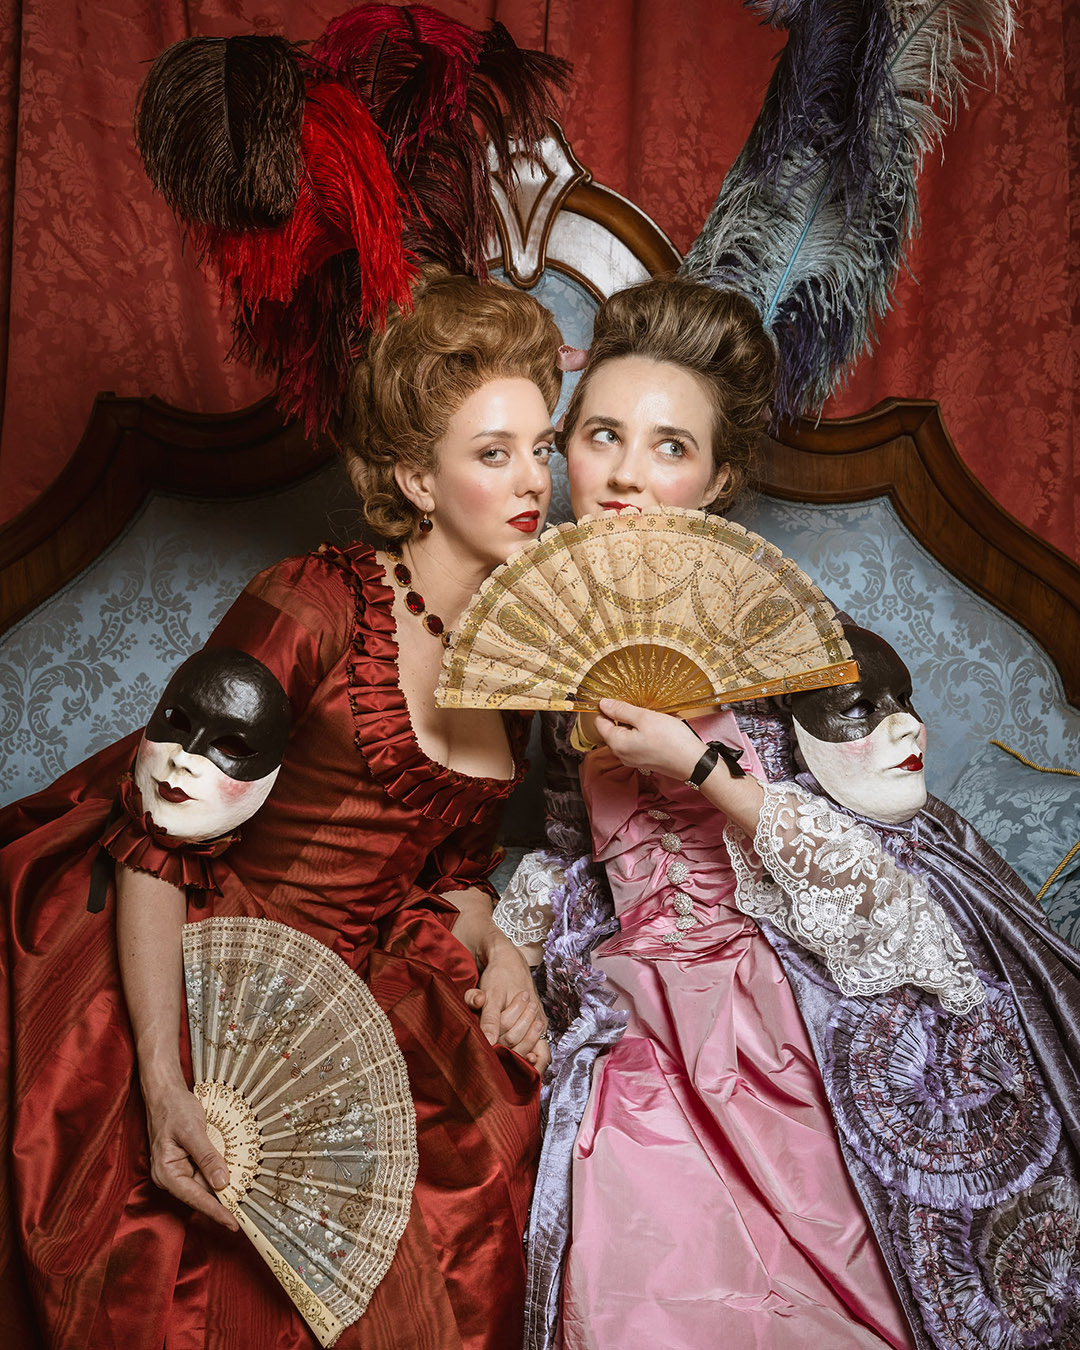
Below are a few Regency inspired wigs we’ve created and styled


Leave A Comment